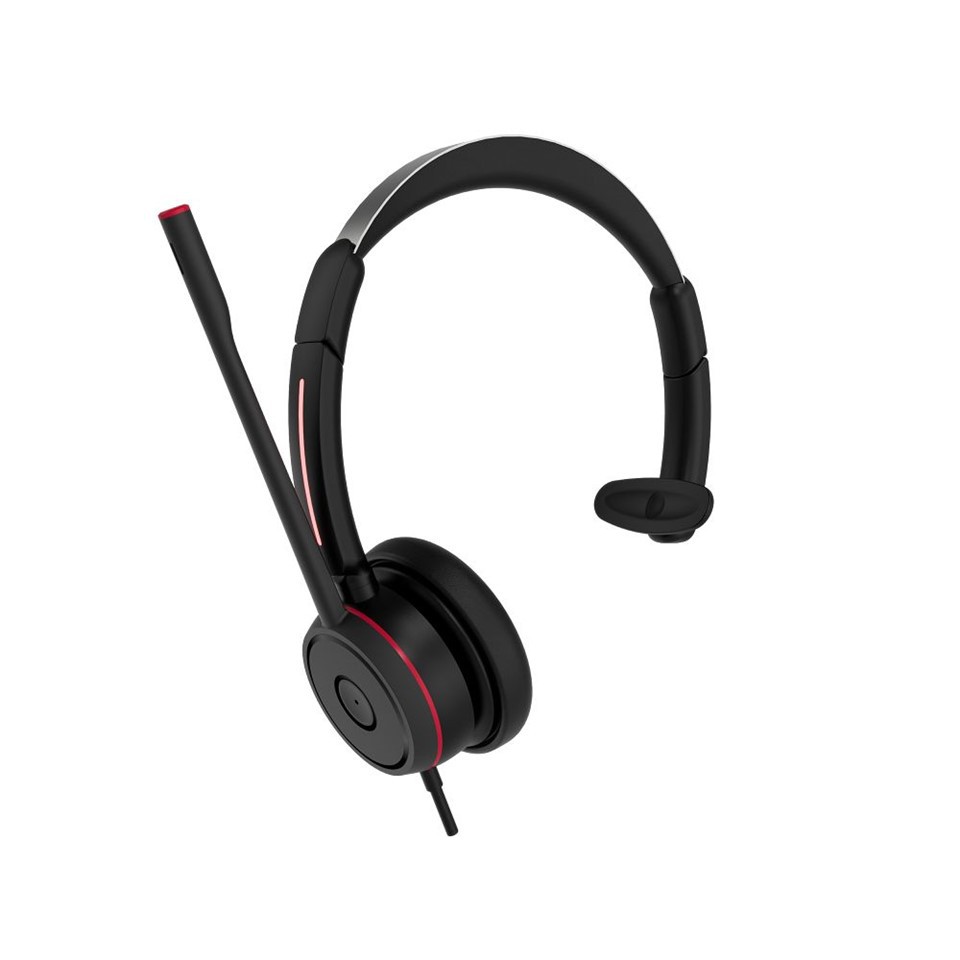
As a USB headset supplier, I understand that many users may encounter difficulties when trying to change the settings of their USB headsets. In this blog post, I'll guide you through the process of adjusting the settings of a USB headset, ensuring you get the best audio experience.
Step 1: Connect Your USB Headset
Before you start changing any settings, you need to connect your USB headset to your device. This process is usually straightforward. Simply plug the USB connector of your headset into an available USB port on your computer. Most modern operating systems will automatically detect the new device and install the necessary drivers. If your computer doesn't recognize the headset, you may need to check the manufacturer's website for the latest drivers.
Step 2: Access the Sound Settings
Once your USB headset is connected, you need to access the sound settings on your device. The location of these settings can vary depending on your operating system.
Windows
On Windows, you can access the sound settings by right - clicking on the volume icon in the taskbar and selecting "Sounds". In the Sounds window, you'll see tabs for "Playback", "Recording", and "Spatial sound" (in some versions).
macOS
For macOS users, click on the Apple menu in the top - left corner of the screen and select "System Preferences". Then, click on "Sound". Here, you'll find options for output and input devices.
Linux
On Linux, the process can vary depending on the distribution. In most cases, you can find the sound settings in the system settings or control panel. For example, in Ubuntu, you can click on the volume icon in the top panel and select "Sound Settings".
Step 3: Select Your USB Headset as the Default Device
In the sound settings, you need to select your USB headset as the default playback and recording device.
Playback
On the "Playback" tab (Windows) or "Output" section (macOS/Linux), find your USB headset in the list of available devices. Click on it and then select "Set as Default" or a similar option. This ensures that all audio from your computer will be played through the headset.
Recording
Similarly, on the "Recording" tab (Windows) or "Input" section (macOS/Linux), select your USB headset as the default recording device. This is important if you plan to use the headset's microphone for activities like voice calls or recording audio.
Step 4: Adjust the Volume Settings
Once your USB headset is set as the default device, you can adjust the volume.
Playback Volume
In the sound settings, you'll usually see a volume slider for the playback device. Drag this slider to increase or decrease the volume of the audio coming through the headset. You can also use the volume buttons on the headset itself if it has them.

Microphone Volume
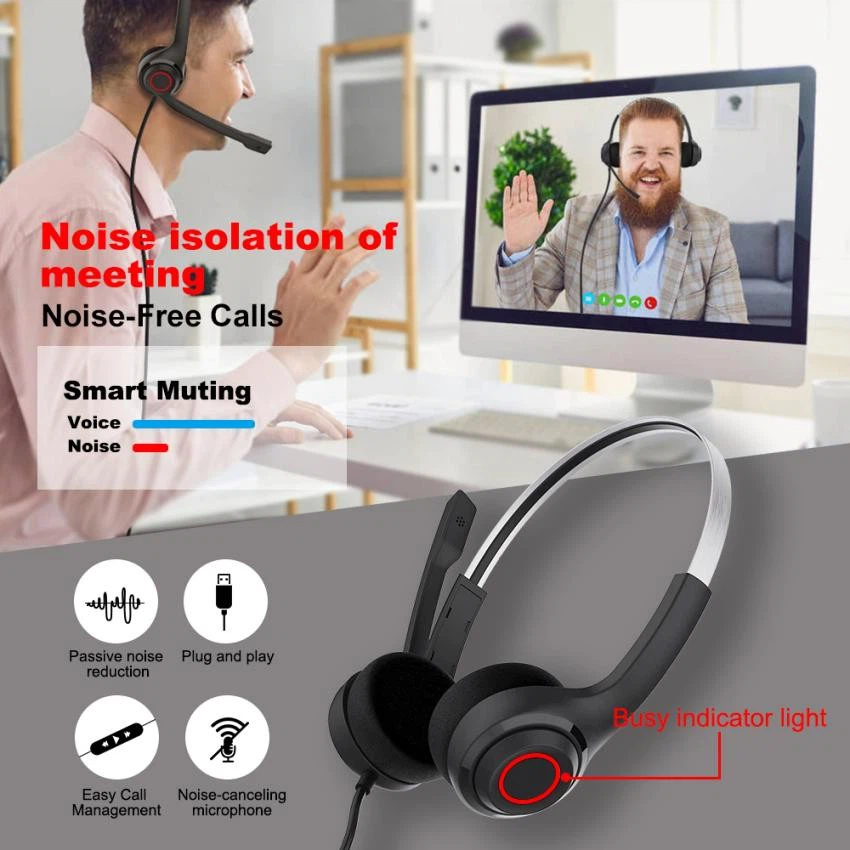
For the microphone, there is also a volume slider in the recording settings. Adjust this slider to set the sensitivity of the microphone. You may need to speak into the microphone while adjusting the slider to find the optimal level.
Step 5: Advanced Settings
Depending on your USB headset and operating system, there may be advanced settings available.
Equalizer Settings
Some headsets and operating systems allow you to adjust the equalizer settings. The equalizer lets you change the balance of different frequencies in the audio, such as bass, mid - tones, and treble. You can enhance the audio quality according to your preferences, for example, boosting the bass for music or enhancing the mid - tones for voice calls.
Noise Cancellation
If your USB headset has a noise - cancellation feature, you can usually enable it in the sound settings. Noise cancellation helps to reduce background noise, making your voice clearer during calls and providing a more immersive audio experience.
Spatial Sound
In some newer operating systems, there is an option for spatial sound. This creates a more three - dimensional audio experience, which can be great for gaming or watching movies. You can try enabling this feature and see if it enhances your audio enjoyment.
Step 6: Testing Your Settings
After making all the necessary adjustments, it's important to test your settings. You can play some music, watch a video, or make a test call to ensure that the audio is clear and at the right volume. If you're not satisfied with the results, you can go back and make further adjustments.
Changing the settings of a USB headset may seem complicated at first, but by following these steps, you can easily customize the audio experience to suit your needs.
As a USB headset supplier, we offer a wide range of high - quality headsets. Our Best Computer Headset For Work is perfect for those who need to stay productive during work calls. The USB Wired Dual Ear Office Headset provides excellent audio quality and comfort, while the Usb Headset with Mic for Pc is a great choice for everyday use on your computer.
If you're interested in purchasing our USB headsets or have any questions about our products, we encourage you to reach out to us for procurement discussions. We're committed to providing the best products and services to meet your needs.
References
- Windows Support Documentation
- macOS User Guides
- Linux Distribution Manuals
- USB Headset Manufacturer's Manuals